Editor Workspace Features
The Editor work space provides the following features.
Embedded Instructions
As depicted in the image below, the Editor already provides detailed, step-by-step guidance for each information field.
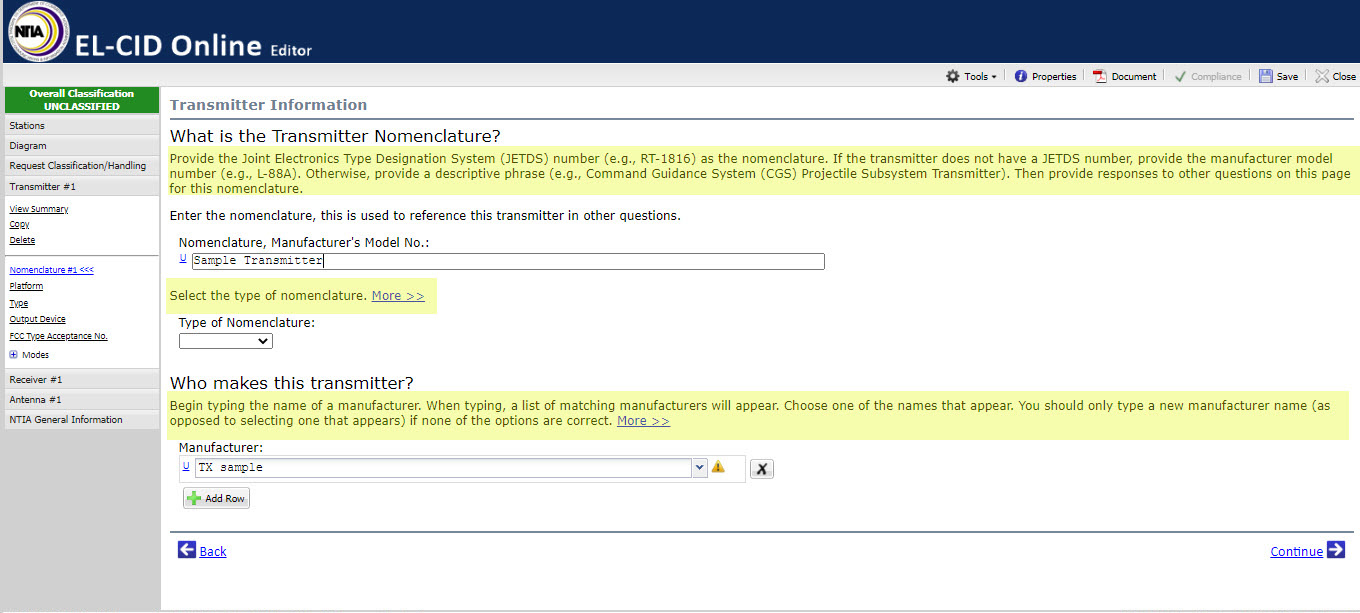
In addition, for some fields users can access even more in-depth help, by selecting  links, or by clicking on the help icons
 ![]() . The system also generates error and warning messages that provide additional guidance. To avoid redundancy since the Editor work space already contains highly useful and detailed embedded help features, this help manual provides minimal work space help content.
. The system also generates error and warning messages that provide additional guidance. To avoid redundancy since the Editor work space already contains highly useful and detailed embedded help features, this help manual provides minimal work space help content.
Classification
Every field in the Editor has a classification status indicator  . Select these links to view or change the classification of a specific information field.
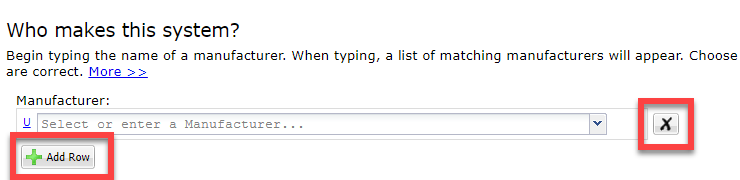
Add/Delete Rows
The Add Row button  is displayed wherever information fields are presented in a table, and allows multiple rows to be entered into the table. When information is entered into a row, the delete row button
  is used to remove the information for that row.
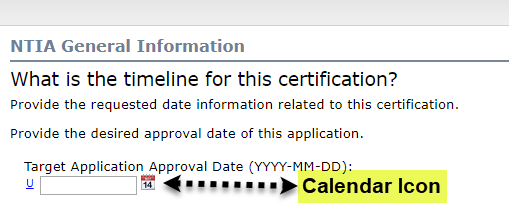
Calendars
Dates should not be entered manually. Instead, use the calendar icons:
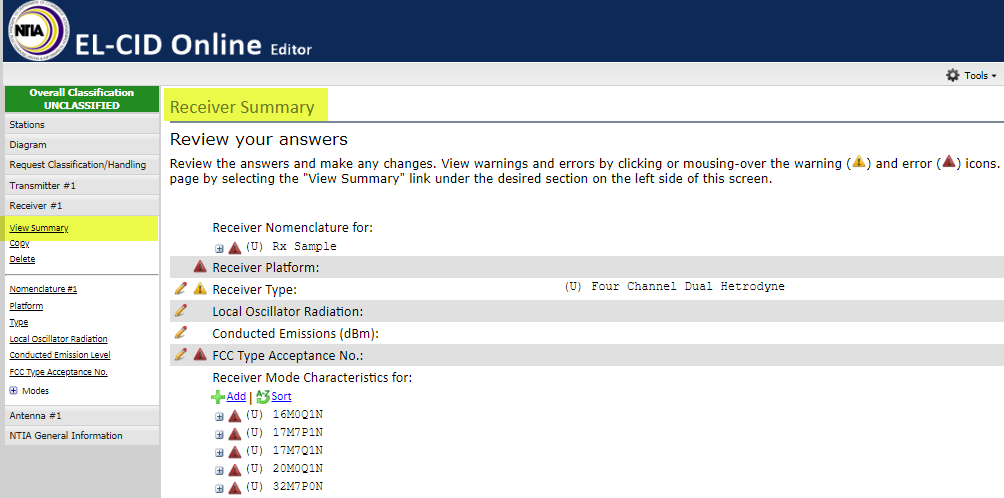
View Summary
Each of the main sections of the navigation panel – Request Classification/Handling, Transmitter, Receiver, Antenna, and NTIA General Information – contain a View Summary page that allows the user to view a summary for the entire section. Within the summary, navigation links are provided that enable the user to visit specific sections that require further edits or entries.
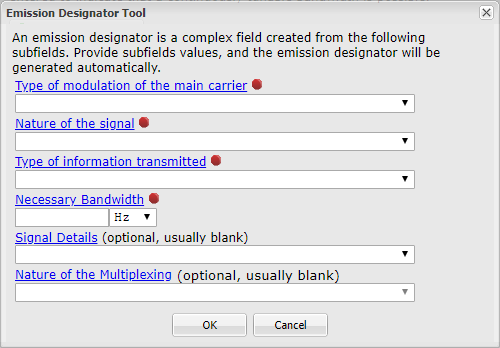
Build Tools
Build icons  are used to access build tools such as the Emission Designator Tool(depicted below):
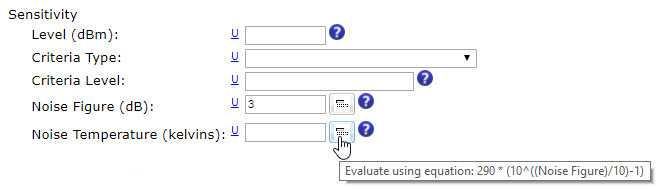
Calculator Buttons
Sometimes the data required for a certification request can be calculated based upon other data already entered. In these circumstances, an Editor field will feature a  button next to it.
For instance, the Noise Figure and Temperature fields for a receiver can be used to calculate each other. When one contains valid data, users can click the button on the other field to generate a value.